Learn how to install Kodi (XBMC) to your Apple TV 4. Kodi (XBMC) is a media center for playing videos, music, and more. Kodi gives you access to add-ons like 1Channel, Genesis, Icefilms, SportsDevil, SALTs, and more.
This tutorial will show you how to download and install Kodi (XBMC) to your Apple TV, how to set up Kodi (XBMC) with all the essential add-ons, and how to update Kodi (XBMC).
Note: The current tvOS Kodi (XBMC) version is in pre-alpha. It is not a stable build and includes bugs and errors. However, most of the major functionalities work including most add-ons. You can give it a try if you cannot wait for a more stable release.
What you will need:
- Apple TV 4
- Computer running Mac OSX (Macbook, iMac, Mac Mini, Mac Pro, Hackintosh etc.)
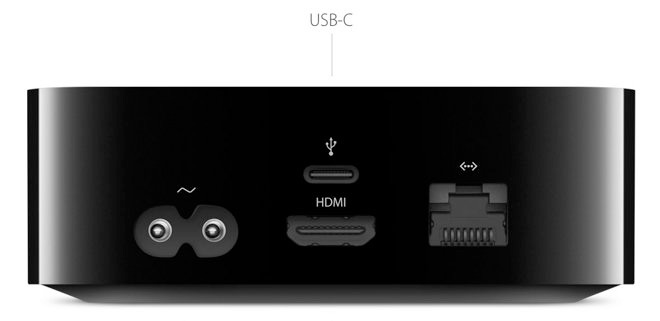
- USB Type-C to USB cable
You do not need a paid Apple Developer account, simply sign in with your Apple ID (or create one if you do not have one). Please note that if you signing in with an Apple ID, the app will expire and you will need to repeat this process every 7 days.
If you’re running an old version of tvOS on your Apple TV, check out our tutorial on how to jailbreak your Apple TV 4.
HOW-TO SIDELOAD KODI (XBMC) TO THE APPLE TV
1. Download and install Xcode from the App Store to your Apple computer
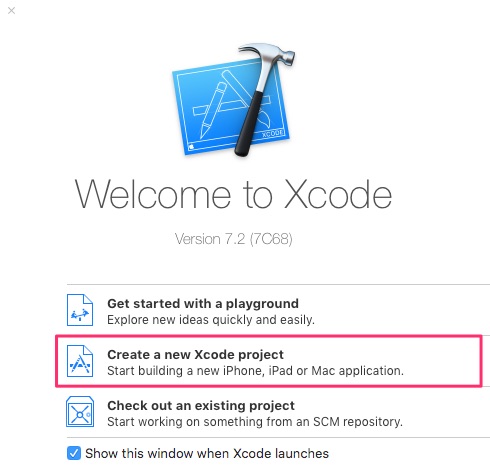
2. Open Xcode and select Create a new Xcode project
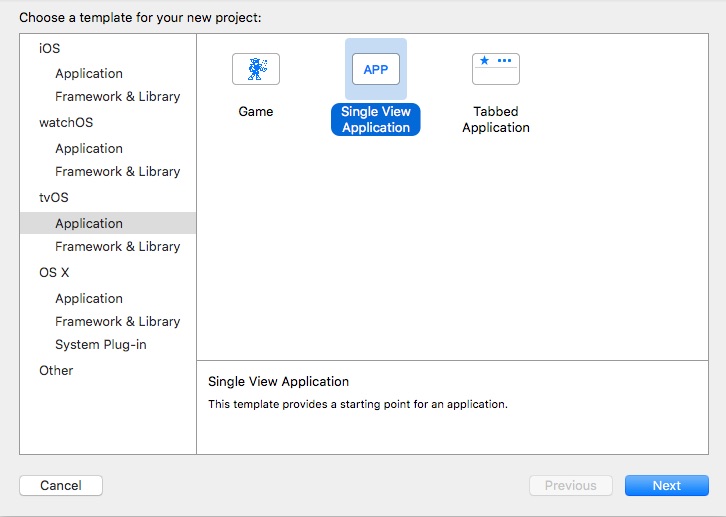
3. Go to tvOS > Application
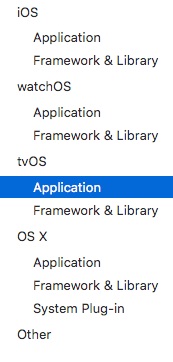
4. Select Single View Application and hit Next
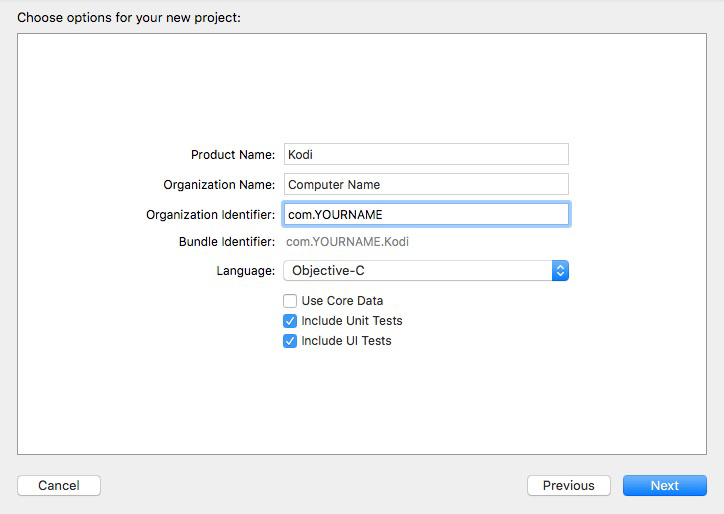
5. Name Product Name “Kodi” and name Organization Identifier “com.YOURNAME” (replace YOURNAME with your name – no spaces) and hit Next
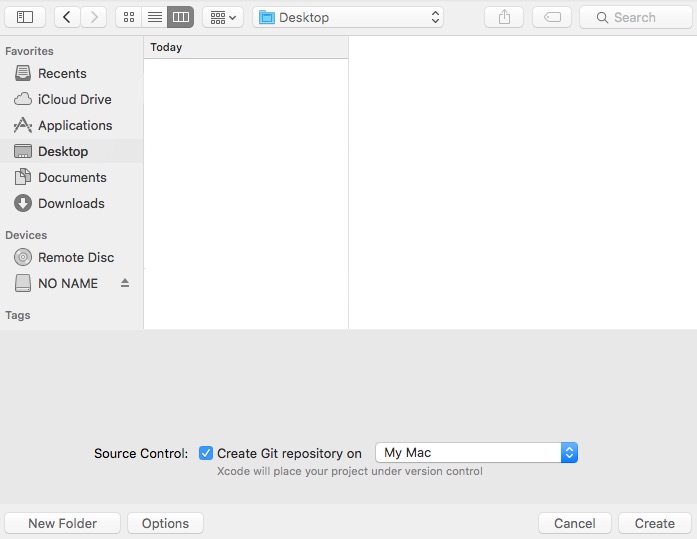
6. Save Git Repository to your computer
6a. If you see a “No matching provisioning profiles found” (if not applicable, skip):
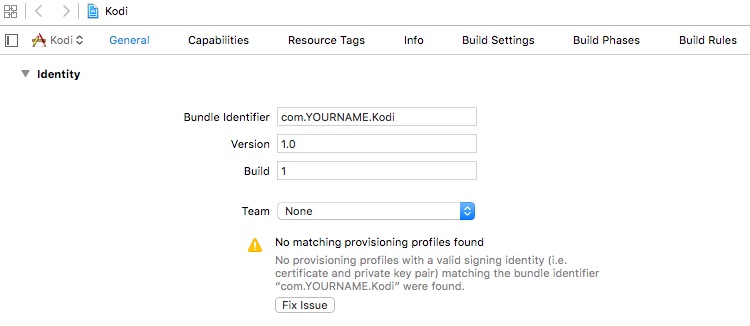
Hit Fix Issue, log into your Apple ID account, and select your profile

If your Bundle Identifier is not unique, you will need to rename it. Follow the format, com.UNIQUENAME.Kodi (replace UNIQUENAME with something else).
7. Download the Kodi (XBMC) tvOS .deb file to your computer
8. Download and open App Signer
8a. If you are getting the “iOS App Signer can’t be opened because it is from an unidentified developer” error (if not applicable, skip):
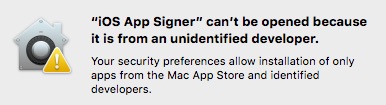
Right-click App Signer and click Open
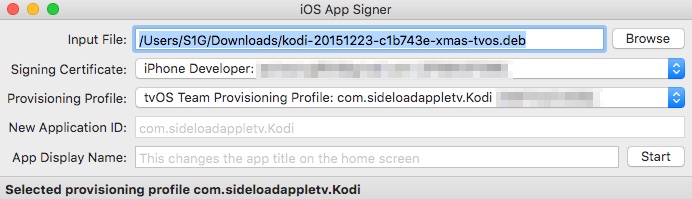
9. For the Input File, hit Browse, and select the .deb file from step 7. For the Provisioning Profile select the profile you created earlier in Xcode and hit Start
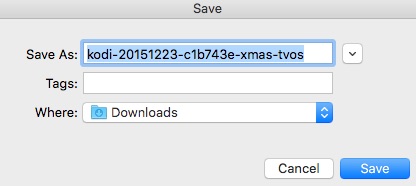
10. Save the .ipa file to your computer.
11. Connect Apple TV to computer with USB-C cable
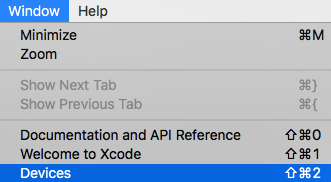
12. In Xcode, go to Window > Devices
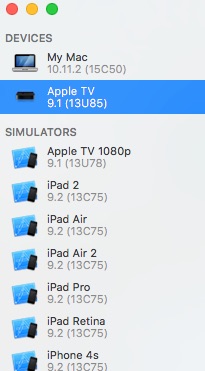
13. Select Apple TV
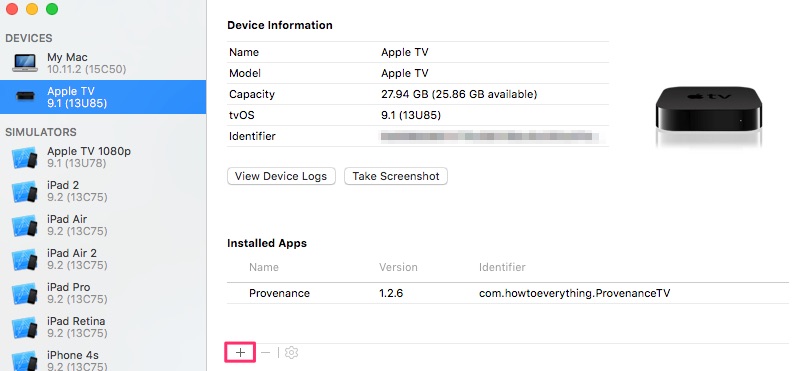
14. Hit +
15. Open the .ipa file downloaded from step 10

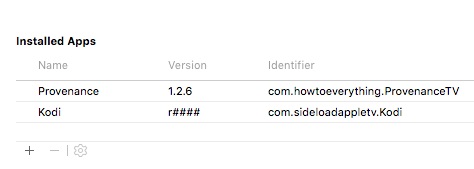
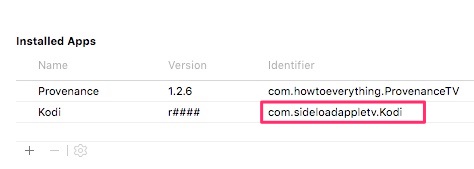
Kodi will begin to install on your Apple TV. Once installed, you will see it under Installed Apps
Kodi will now be available on your Apple TV home screen.
Credits to Memphiz and DanTheMan827 (click on name to make a donation)
HOW-TO SET UP KODI (XBMC) FOR THE APPLE TV
Follow the tutorial to learn how to install some of the best add-ons to Kodi for the Apple TV. Please note: Your Kodi may not look like the Kodi version in the screenshots, but the instructions are the same.
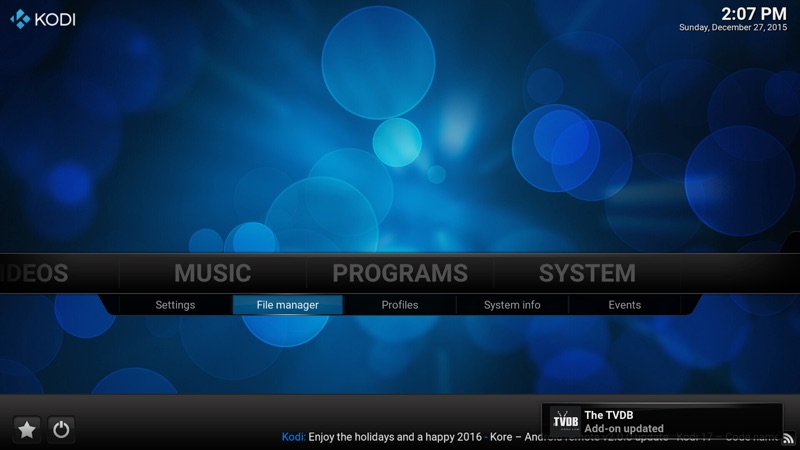
1. Launch Kodi
2. Go to Settings > File Manager
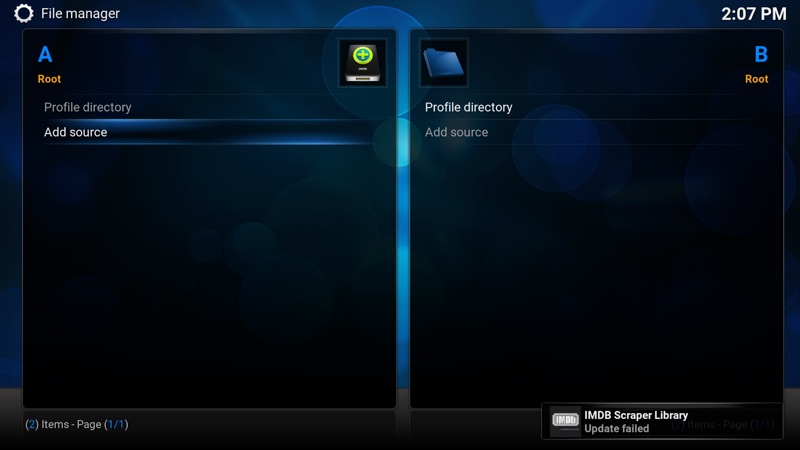
3. Hit Add Source
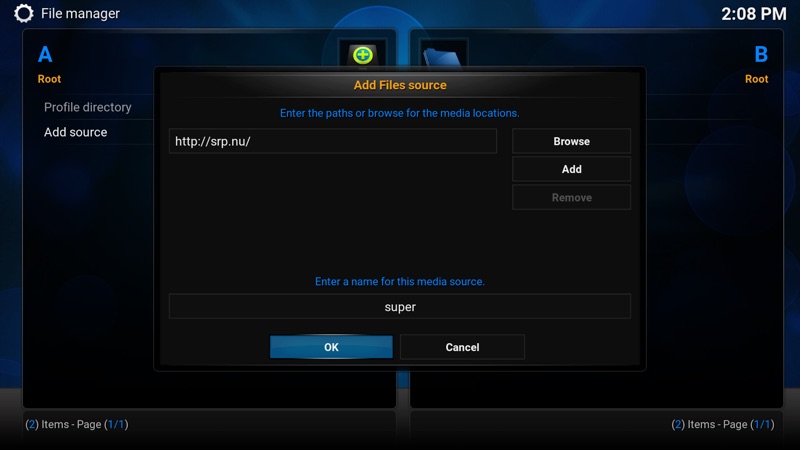
4. Add “http://srp.nu/” and name it “super”
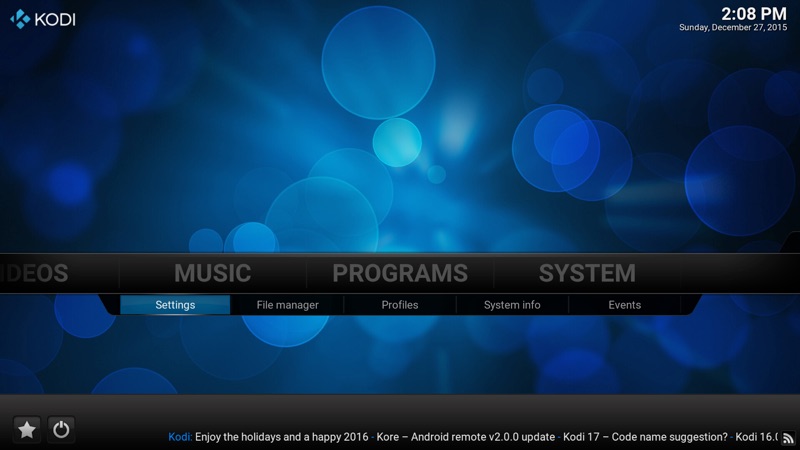
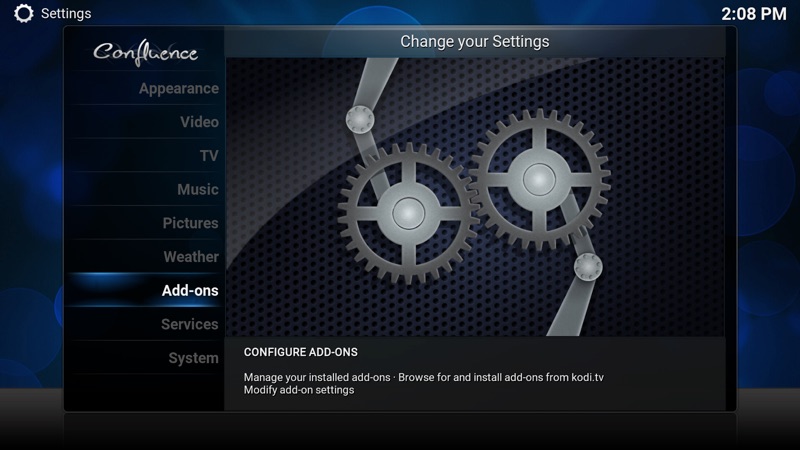
5. Go back and go to System > Settings
6. Go to Add-ons
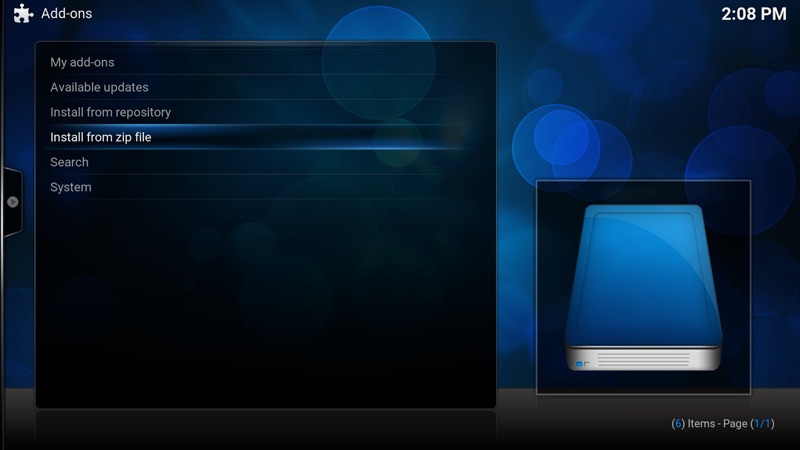
7. Hit Install from zip file
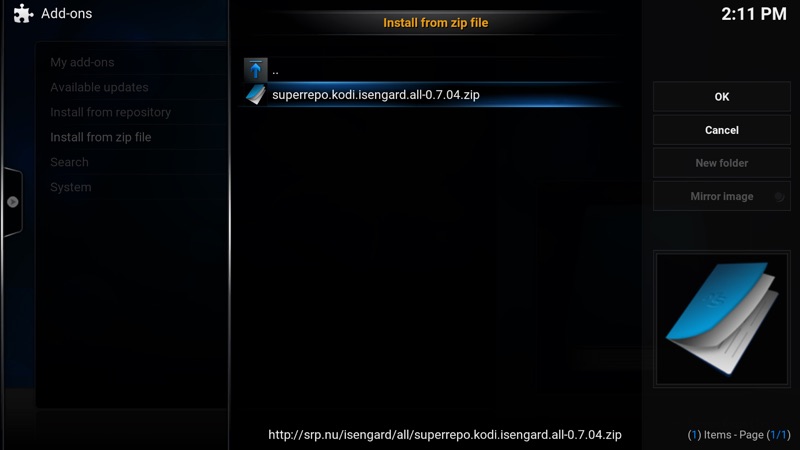
8. Go to super > [Kodi version] > all > superrepo.kodi.isengard.all.zip
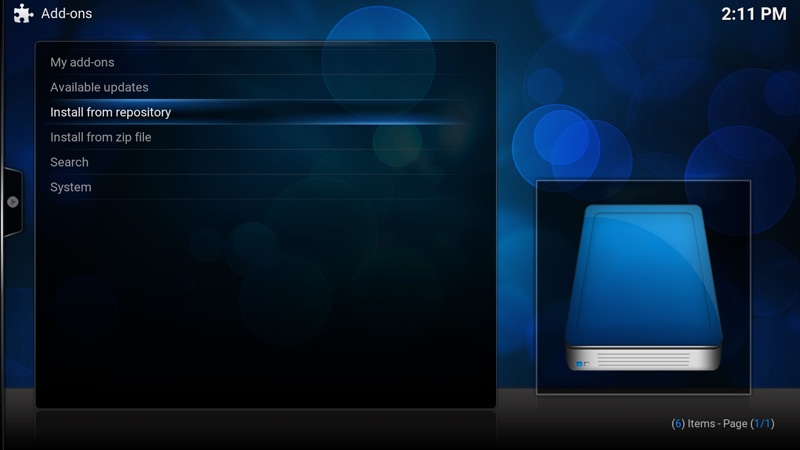
9. Hit Install from repository
10. Go to SuperRepo All > Video add-ons
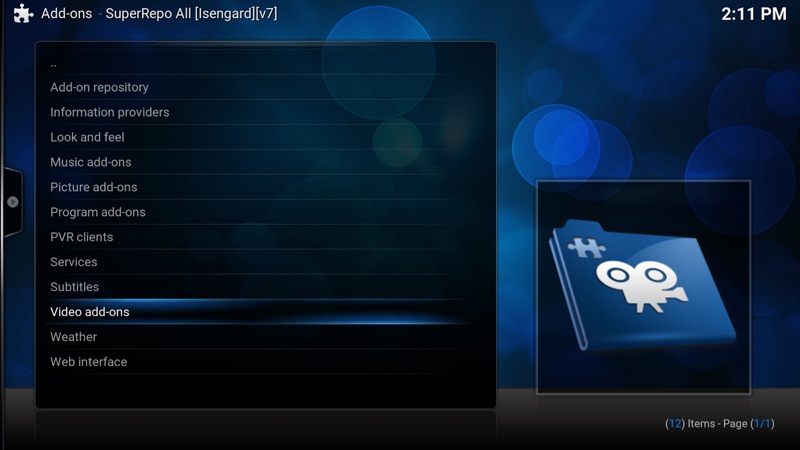
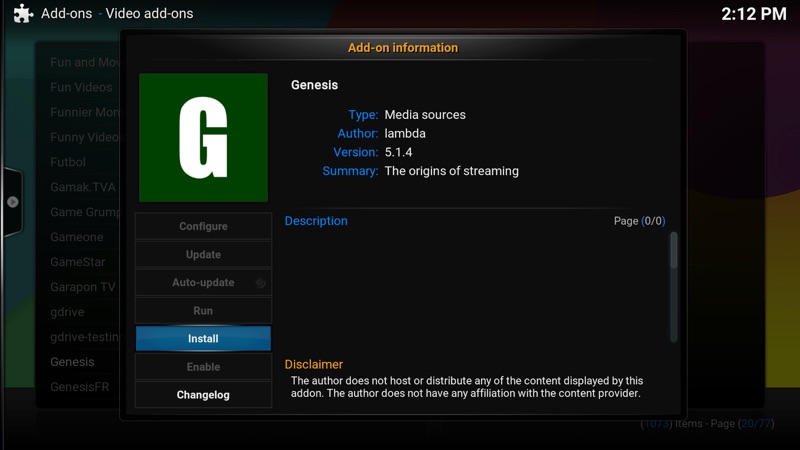
11. Select and install desired add-ons
HOW-TO UPDATE KODI (XBMC) FOR THE APPLE TV
To update Kodi (XBMC) for the Apple TV, you will follow the same procedure as the installation and use the updated .deb file. The only thing you will need to verify is that the Bundle Identifier for Kodi is exactly the same as the first time you installed it. Otherwise, it will install another Kodi to your Apple TV. All add-ons and settings will carry over to the updated Kodi.
If you forgot the original Bundle Identifier name, go to Window > Devices
Click on Apple TV and your Bundle Identifier will be displayed under Installed Apps
Having problems installing Kodi? Leave us a comment and we will try to provide support on your issue.